|
|
It is amazing how much improvement you can make in an image; these samples represent the intent I have to try to have quality images of the various Technics pieces on the site. There are a lot of images to work on, though, so improvements will definitely come over a fair period of time.
Pretty much everything you see here was done in one or two mouse operations, in just a few seconds. Most of the images on the unit pages are larger than those here - I reduced all of these to 300 pixels or so wide so that the page would fit nicely on an 800-wide display.
| Before | After |
|---|---|
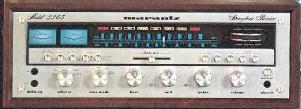
| This image of the 3250 was taken at a sharp angle. A perspective transformation improved it. Note the angle of the sides. You can also see that the panel was "cut out" of the rest of the image, I used the "clip" operation for that. | |
 |
 |
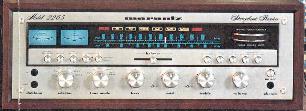
| This image of the 2265 came from a brochure, and had a fairly profound "fold line" in it at the left side by the bolts. Using WinImages "Remove Feature" filter, this was eliminated (you can see the removal even better in the larger image on the 2265 page. | |
 |
 |
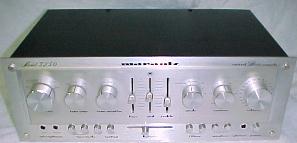
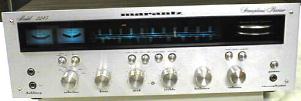
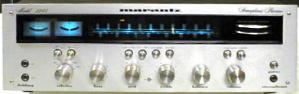
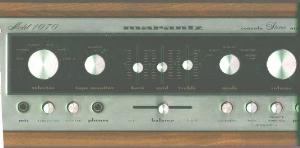
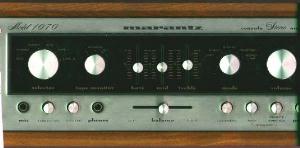
| This image had three problems, and I solved them in three simple steps. First, as is easily seen, the image is tilted. I used the 2D rotate to turn it 2 degrees CW, which fixed that. But it was still a "tilted" shot, and I used the perspective transformation to fix that. Finally, the dial area was a little dim, so I used "sample" to sense the color depth in the blue dial area, then the "force dynamic range" option in the "balance" operation to bring up the dial area without distorting the colors. | |
 |
 |
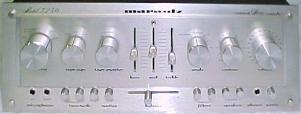
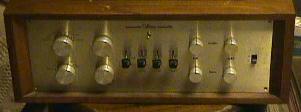
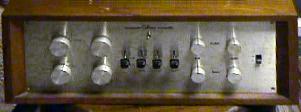
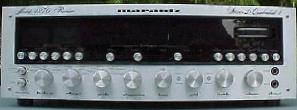
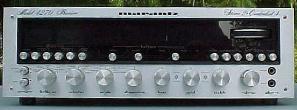
| Here's one that I beat on a bit more than the others. This image suffered from the yellow look that comes from scanning a photo shot in incandescant light. I used Sample to show WinImages what color the panel was (yellowish) and then used the Balance operations' "Balance to Grey" option to change the entire image's color balance to match the lighting that would have been present if the panel had shown up silver (grey), as it should have. I hit it with a gamma increase to improve the contrast, and then I reduced the color saturation on the panel area only, as it was still a little patchy. The last step was to use perspective to straighten up the image somewhat. | |
 |
 |
| This image simply suffered from lack of contrast. I could have used contrast or gamma to adjust it, but WinImages can do not just a "good" job, but a perfect job, using the Sample and Balance operations. First, you sample the image. This teaches WinImages what the current darkest and lightest areas are. Then, you use "Force Dynamic Range", which looks at the darkest point, and makes it as dark as it can be without distorting any colors or losing any contrast information, and then looks at the brightest area, and forces it to be as bright as it can be again without causing any color distortion or losing any contrast information. The result is that the contrast of the image is the best it can be, considering that no information is lost. You can still increase the contrast, but if you do, some image detail will be lost. I use this sequence of operations a lot! | |
 |
 |
| This picture suffered from "fisheye" distortion; that is, it bulged out in the center. I used WinImages' "Caricature" operation to remove the fisheye distortion completely, as Caricature is a reverse fisheye lens. | |
 |
 |
